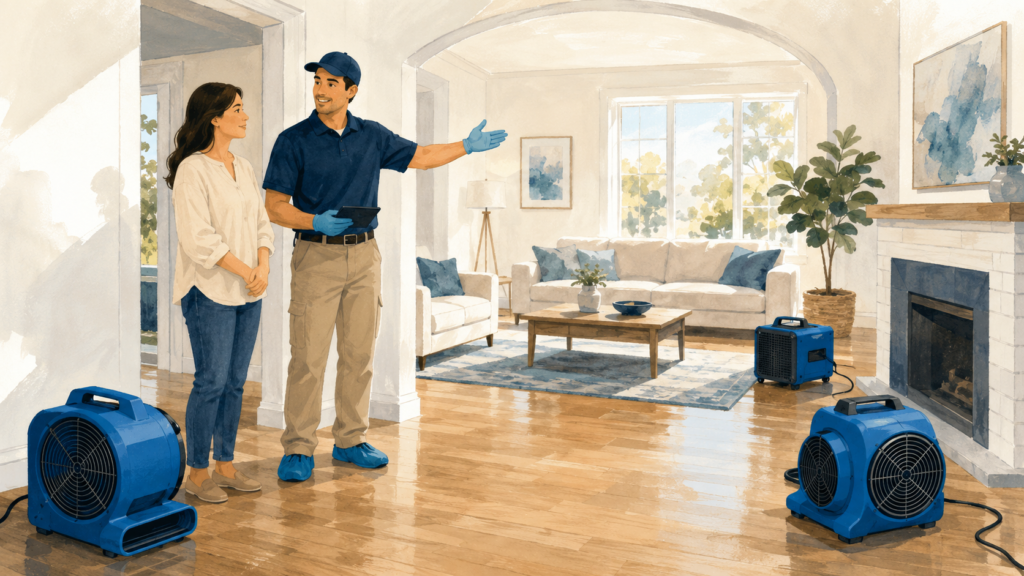
The water is gone, or at least the puddle is. Now you’re standing in a room that smells damp, the carpet squishes under your socks, and a pro on the phone just said the word “restoration.” If you’ve never been through this before, it’s hard to picture what actually happens next, or how a soaked room turns back into a dry, normal part of your home.
Here’s the reassuring part. The work follows a clear order, and a good crew has done it hundreds of times. Once you understand the water damage restoration process, the whole thing feels a lot less overwhelming, and you’ll know what to expect at each stage.
Below is the same sequence most professional crews follow, explained in plain language, so you can see where you are and what’s coming.
What restoration really means
Restoration is the full job of taking your home from wet and damaged back to dry, clean, and safe. It’s more than mopping up. Water soaks into drywall, subfloors, insulation, and framing, and a lot of the real damage is hidden where you can’t see it.
That’s why pros treat this as a series of steps rather than one big cleanup. Each stage sets up the next. Skip the drying and you invite mold. Skip the inspection and you miss water trapped behind a wall. The order matters, and speed matters too, because water damage genuinely gets worse by the hour.
Step 1: Inspection and assessment
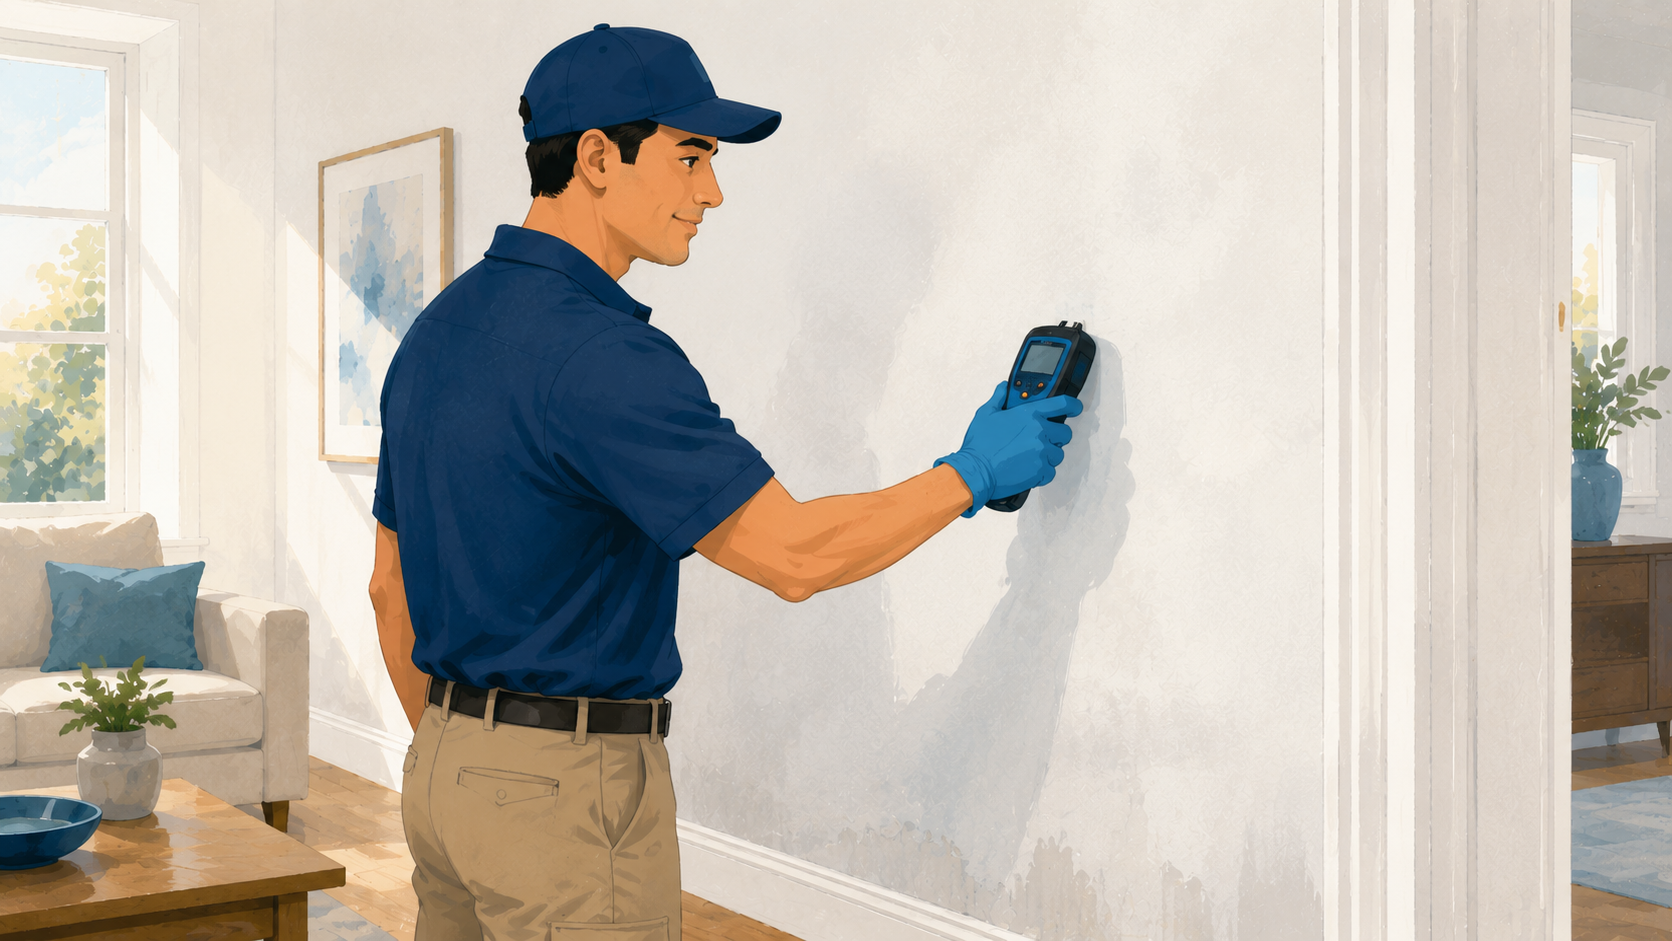
Everything starts with finding out how far the water traveled. A technician walks the space and uses tools you probably don’t have at home, like a moisture meter and a thermal imaging camera, to see dampness inside walls and under floors that looks perfectly dry on the surface.
They’ll also figure out the water category, which is a big deal for your safety. Clean water from a supply line is one thing. Gray water from an appliance, or black water from a sewage backup, carries bacteria and gets handled very differently. Knowing the source shapes the entire plan.
By the end of this step, the crew knows which materials can be saved, which need to go, and roughly how long drying will take. This is also when many homeowners start documenting for insurance, so take plenty of photos before anything gets moved or torn out.
Step 2: Water removal and extraction
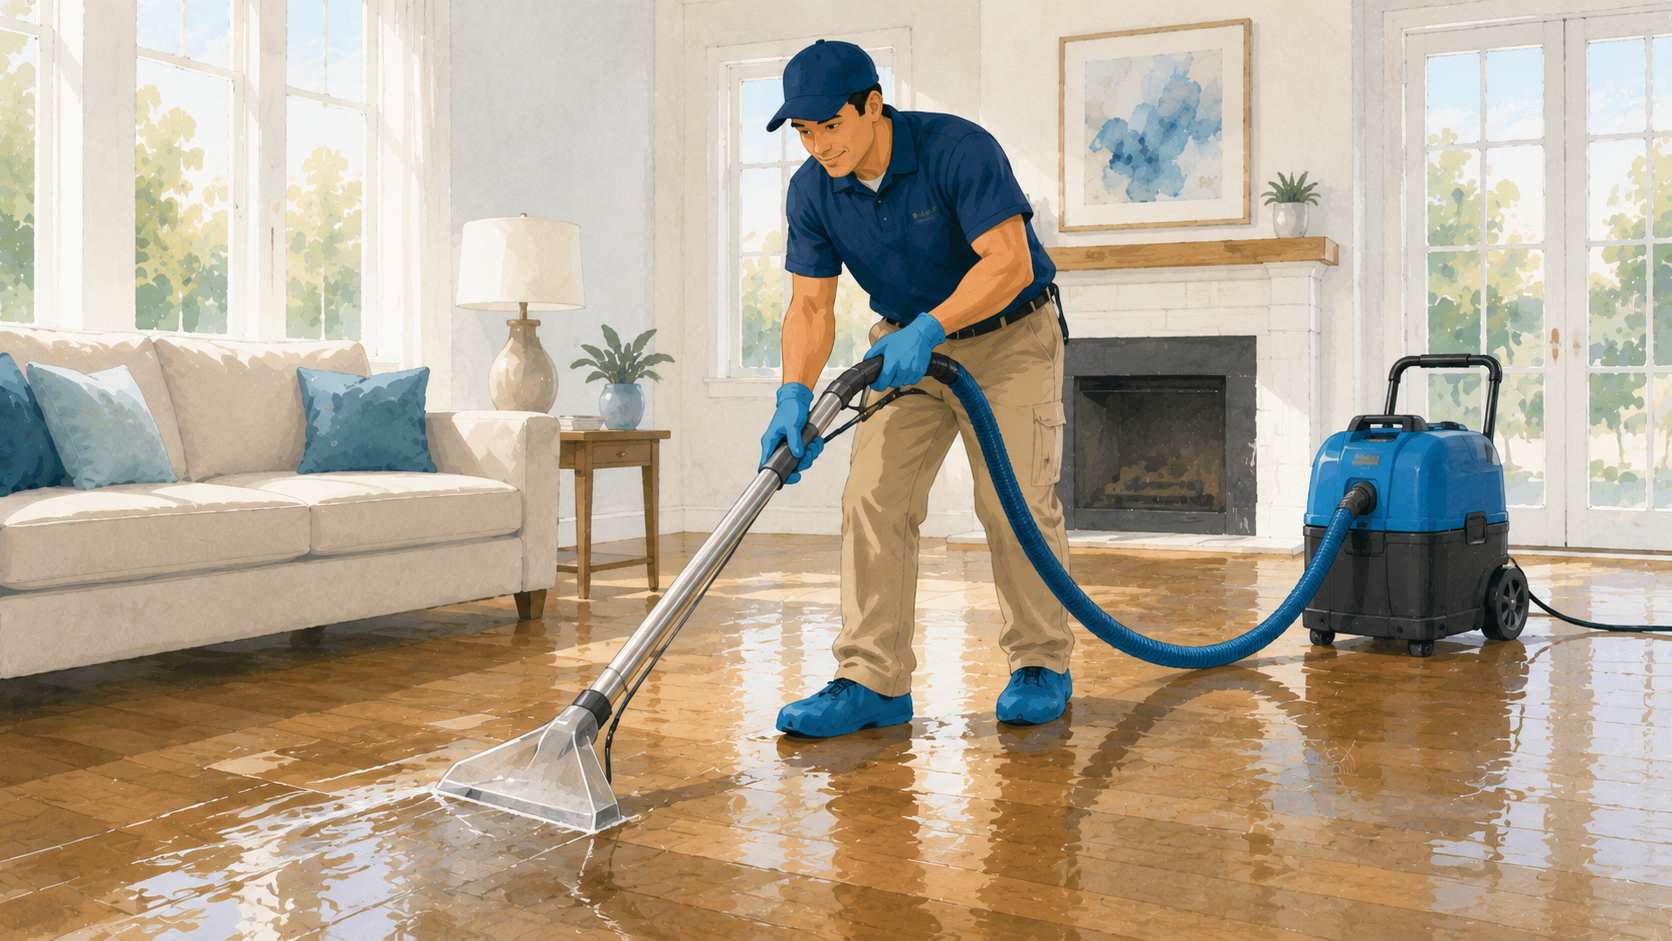
Next comes getting the standing water out fast. Crews use truck mounted units, portable extractors, submersible pumps, and heavy duty wet vacuums to pull water from floors and carpet. The sooner standing water leaves, the less it soaks into your home, so this step usually happens right away.
Water extraction does two things at once. It stops the water from spreading into new rooms, and it shortens the drying phase that follows. Every gallon a crew removes now is a gallon that doesn’t have to slowly evaporate later.
If your carpet was soaked, this is often when a tech decides whether the padding underneath can be saved or needs to come out. Wet padding traps moisture and rarely dries well in place.
Step 3: Drying and dehumidification
This is the stage most people underestimate. Even after the visible water is gone, your walls, floors, and framing are still full of moisture you can’t feel. Drying and dehumidification is how a crew pulls that hidden water back out before it causes mold or warping.
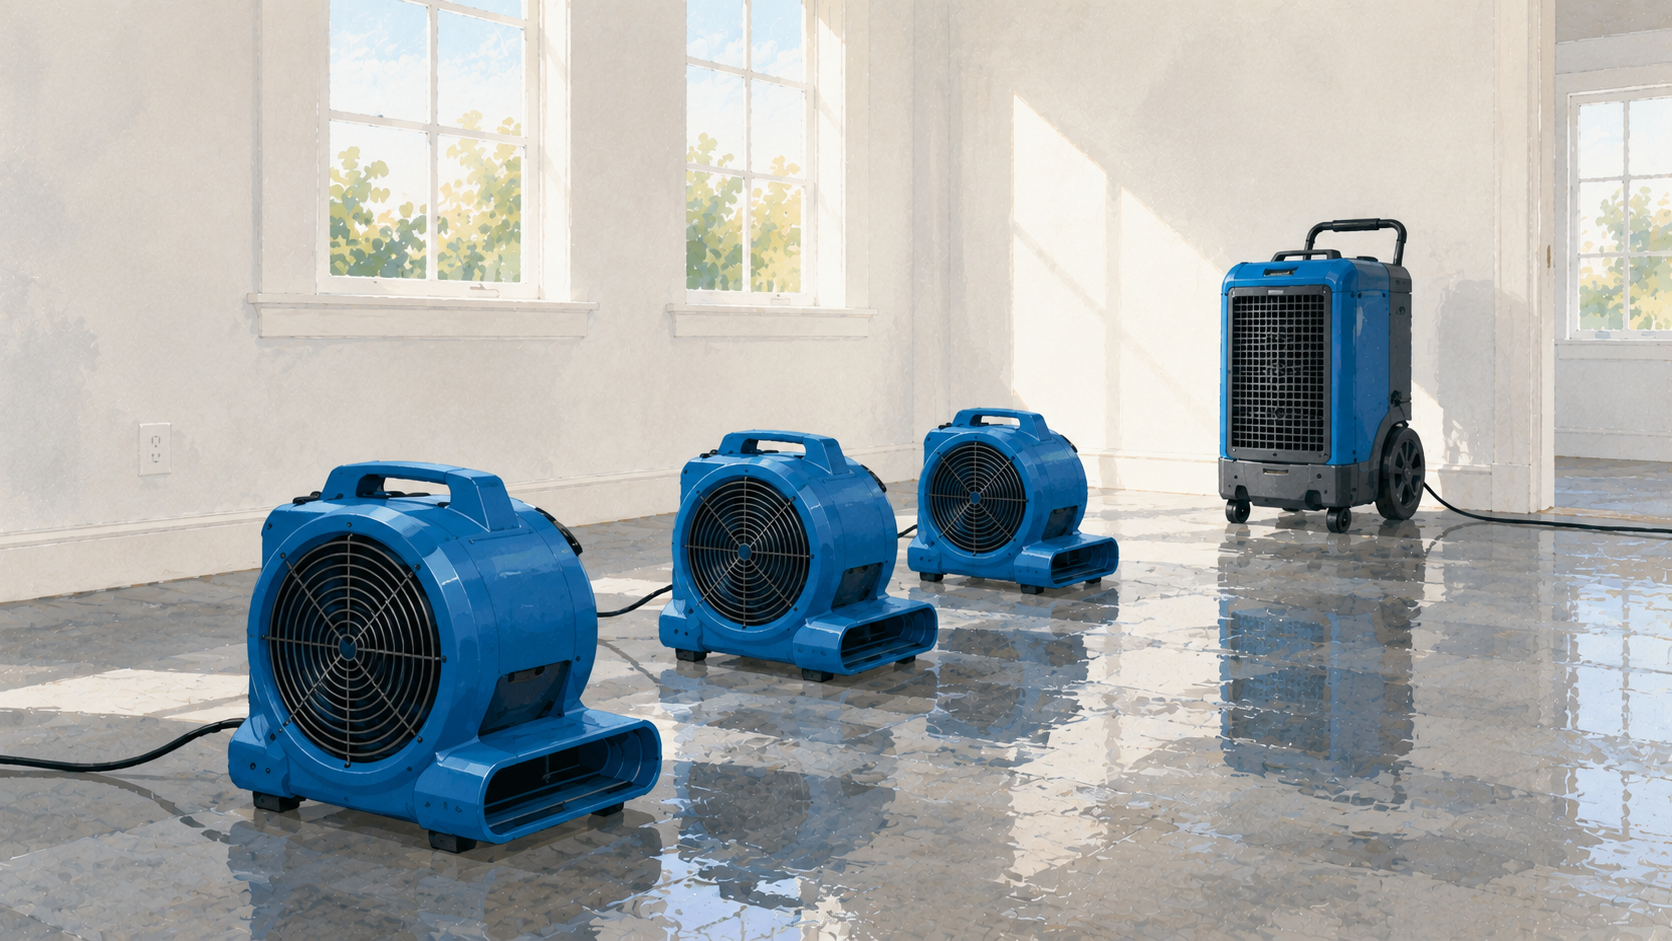
You’ll see rows of air movers, those loud fans aimed low across the floor, working alongside commercial dehumidifiers that strip moisture out of the air. The fans speed up evaporation while the dehumidifiers capture that moisture so it doesn’t just settle back into your drywall.
Here’s the part homeowners hate but need to hear. This step usually takes three to five days, sometimes longer, and the equipment has to keep running the whole time. Turning the fans off early to save on the noise or the power bill is one of the fastest ways to undo the work. Techs come back to check readings with a moisture meter until the numbers hit a normal, dry target.
Step 4: Cleaning and sanitizing
Once everything’s dry, the focus shifts to what the water left behind. Surfaces get cleaned, and depending on the water category, they get sanitized to handle bacteria and odor. This matters most when the water was gray or black, but even clean water can leave a musty smell if it sat for a while.
Crews also treat for that damp, closed up odor and, where needed, use antimicrobial products to slow any mold that might be trying to take hold. Your belongings that got wet, like furniture, rugs, and boxes, are cleaned or set aside for you to sort through.
Step 5: Repairs and restoration
The last stage is putting your home back together. Sometimes that’s small, like a fresh coat of paint and new baseboards. Sometimes it’s bigger, like replacing sections of drywall, insulation, or flooring that couldn’t be saved.
This is the point where the room stops looking like a work site and starts looking like your home again. Some companies handle repairs in house, while others hand this phase to a contractor. Either way, it’s the finish line of the whole water damage restoration process, and it’s worth confirming up front who’s doing this part so there’s no gap at the end.
How long does the water damage restoration process take?
It depends on how much water there was, what got wet, and how fast the crew started. As a rough picture, extraction happens the first day, drying runs several days after that, and repairs can take anywhere from a few days to a few weeks depending on the damage.
A small, clean water leak caught quickly might wrap up in under a week. A flooded basement with contaminated water and soaked framing can stretch much longer. Every home and situation is different, so treat any timeline as a general guide, not a promise.
Common mistakes homeowners make
A few honest missteps show up again and again, and most are easy to avoid once you know about them.
- Waiting to call for help. Mold can start growing within a day or two, so the hours right after a leak count more than most people realize.
- Shutting off the drying equipment too soon. If the walls aren’t truly dry, the damage keeps going after the fans stop.
- Throwing things out before documenting them. Photograph damaged items and materials first, or you may weaken your insurance claim.
- Assuming the surface tells the whole story. A dry looking wall can hide soaked insulation, which is exactly why the inspection step exists.
A real world example
Picture Marcus, who came downstairs to find his kitchen floor wet from a slow dishwasher leak. He mopped it up, figured he’d handled it, and moved on. Two weeks later the baseboards were warping and a musty smell had crept into the room.
When a crew finally came out, their moisture meter showed the subfloor and the bottom of the cabinets were still soaked. What could have been a quick dry out turned into pulling cabinets and replacing flooring. The lesson isn’t that Marcus did something dumb. It’s that water hides, and the full process exists precisely because the surface almost never tells the whole story.
What to do next
If you’re dealing with water right now, a short list keeps you moving in the right direction.
- Stop the water source if you safely can, and stay clear of any water near electrical outlets or panels.
- Take photos and video of everything before you move or remove it.
- Get a professional out quickly, because early drying is what saves your materials and your money.
- Call your insurer to start a claim and ask what they need from you.
You don’t have to figure the whole thing out alone. A qualified local pro can walk your home, tell you exactly which of these steps you need, and get the drying going before small damage becomes big damage.
Key takeaways
- The water damage restoration process runs in order: inspect, extract, dry, clean, then repair.
- A lot of the damage is hidden, which is why inspection and thorough drying matter so much.
- Drying usually takes several days, and the equipment needs to run the whole time.
- Speed protects your home and your wallet, so call for help sooner rather than later.
- Document everything for insurance before anything gets moved or torn out.
Frequently asked questions
Can I skip the professional and just dry it myself?
For a tiny, clean spill you caught right away, home fans and a shop vac might be enough. For anything that soaked into walls, floors, or a large area, home equipment usually can’t dry deep enough to prevent mold, and that’s where a pro’s drying gear earns its keep.
Does homeowners insurance cover restoration?
It often does when the water was sudden and accidental, like a burst pipe, though coverage isn’t guaranteed and varies by policy. Gradual leaks and flooding are commonly excluded. Always confirm the details with your own insurer.
Why are the fans so loud and left running for days?
Those air movers and dehumidifiers are pulling moisture out of materials that look dry but aren’t. Cutting the drying short is one of the most common ways damage comes back, so it’s worth living with the noise until the readings say your home is truly dry.
How soon should the process start after a leak?
As soon as possible. Mold can begin within one to two days, so getting extraction and drying started quickly is the single biggest thing you can do to limit the damage and cost.
What if the water was from sewage?
Sewage is black water and carries serious health risks, so it’s not a doing it yourself job. Keep people and pets away and get a professional crew that’s set up to handle contaminated water safely.
Get help fast
WaterDamageOnCall is a water damage information and lead request service. We’re not a licensed restoration contractor, and this article is general information, not professional restoration, insurance, or health advice. Every home is different, so a licensed local pro should assess your specific situation.
If water is spreading in your home right now, don’t wait it out. Call for fast 24/7 help or request help through our quick form, and see how we can connect you with a local pro through our restoration services. Getting the drying started early is what turns a stressful week into a manageable one.